B's semester project was a written manual about constructing a backyard pond. And like many homeschoolers, a project wouldn't be complete without some kind of hands-on activity! Real world lessons is what we believe in! This is the progress of B's actual building of a backyard pond (at the lake).
First he had to lay out and design the pond (no photos). Then he had to get approval from grandma (not a hard thing when you are the apple of her eye). Then B started gathering supplies and dug the holes (no photos, forgot the camera when he went out with gramps). Below is where the photo essay part of the project began. Enjoy!
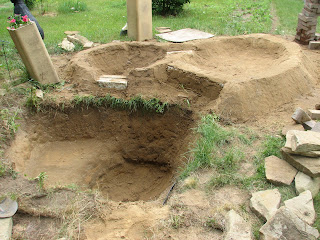
Excavation. The front (to left hole is the main pond, the upper/back two holes are the waterfall steps.
Liner goes in.
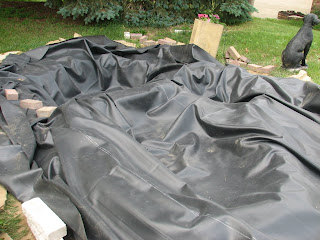
Water starts to go in to start holding liner in place. This makes it easier to manipulate the liner and get it positioned correctly with as few wrinkles as possible.
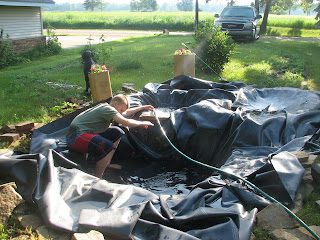
Filling, it takes awhile and the water is cold. But the sun is HOT and it's almost 90 degrees.

As you can see, B really "gets into" his projects. Filling and final liner manipulation.
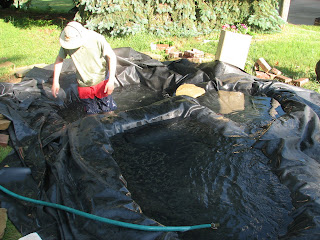
Skimming out debris (which could be an endless task, but you can't tell the designer that part).

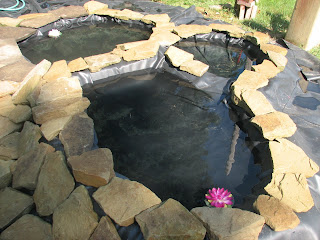
Full of water and sandstone begins being laid.
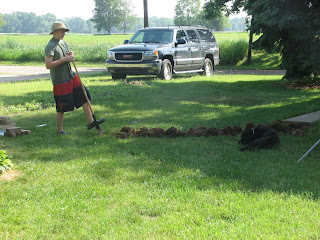
Trench digging for electricity for pump/filter.
Filter
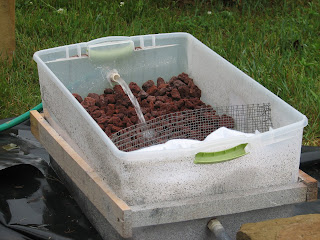
Filter prep with grandma's supervision.

As the project continues to take shape and reaches completion, and progresses - I will continue to keep you up to date. This week there will be water testing and test fish placed in the pond (feeder goldfish). Then the bullfrog tadpoles (which are in a tank in the garage) will find their new home. Last residents - koi. Oh, needless to say, B got an "A" on this semester project!


 The process included picking a design (or drawing, but B took one off the computer). Chosing glass colors and cutting the pieces of glass, using a handheld glass cutting wheel. Second week the glass pieces were glued onto a piece of wood. It has to be a substantial backing in order to hold the weight of the project and keep everything secure. The last week the grout is added. The piece than dries for 24 hours and is cleaned. Finished! We now need to figure out how and where we are going to hang it.
 You float the bag on the water to get the temps about the same before releasing the fish.
 Video of the big release.
 Liner goes in.
 Water starts to go in to start holding liner in place. This makes it easier to manipulate the liner and get it positioned correctly with as few wrinkles as possible.
 Filling, it takes awhile and the water is cold. But the sun is HOT and it's almost 90 degrees.
 As you can see, B really "gets into" his projects. Filling and final liner manipulation.
 Skimming out debris (which could be an endless task, but you can't tell the designer that part).
 Full of water and sandstone begins being laid.
 Trench digging for electricity for pump/filter.
 Filter
 Filter prep with grandma's supervision.